This guide will show you how to install NETGEAR VPN powered by Bitdefender on macOS, ensuring increased online privacy for your Mac computers.
System Requirements: macOS Sierra (10.12) or later
1. Open a web browser and visit https://armor.netgear.com/
2. Sign in with the NETGEAR account you used to activate NETGEAR Armor on your router.
3. Click Allow to give Bitdefender access to your profile information (needed for NETGEAR Armor).
4. Once you enter the NETGEAR Armor portal, click the Add Device button.

5. Choose to install the VPN product.

6. In the installation window:
- Click This device to install Bitdefender VPN on your current device.
- Click New devices to install Bitdefender VPN on another device (you’ll need to send a download link to that device).

7. Once the download is ready, double-click the netgear_[…] file you’ve just saved to start the installation.
8. Follow the on-screen instructions to install NETGEAR VPN on macOS. Click the Continue button.

9. Click Agree after you read and agree to the terms of the software license agreement.

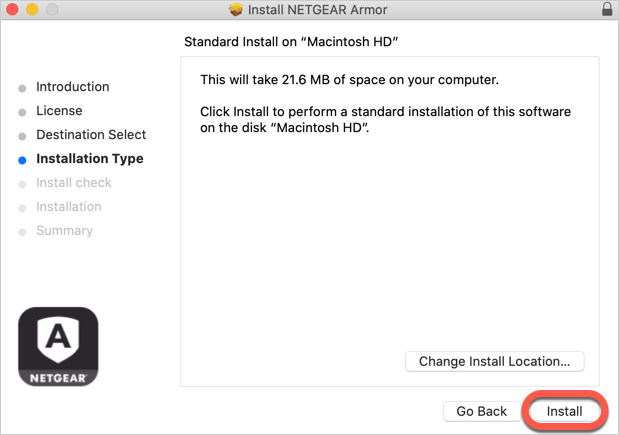
10. Click on Continue. After that, select Install.
11. When prompted, input an administrator name and password, then press the Install Software button.

12. Wait for the installation to finish and the NETGEAR VPN application to be displayed. Click the Connect button.

13. A pop-up will indicate that a system extension has been blocked. Click the Open System Settings button (or Open Security Preferences on earlier macOS versions).

14. Click the Allow button in the window that appears on the screen, then input an administrator name and password to unlock settings.

ⓘ On earlier versions of macOS (High Sierra 10.13 to Monterey 12), first click the padlock in the bottom left corner of the Security & Privacy window, enter an administrator name and password, then click the Allow button.

That’s it! NETGEAR VPN by Bitdefender is now installed and ready to be used on your Mac.